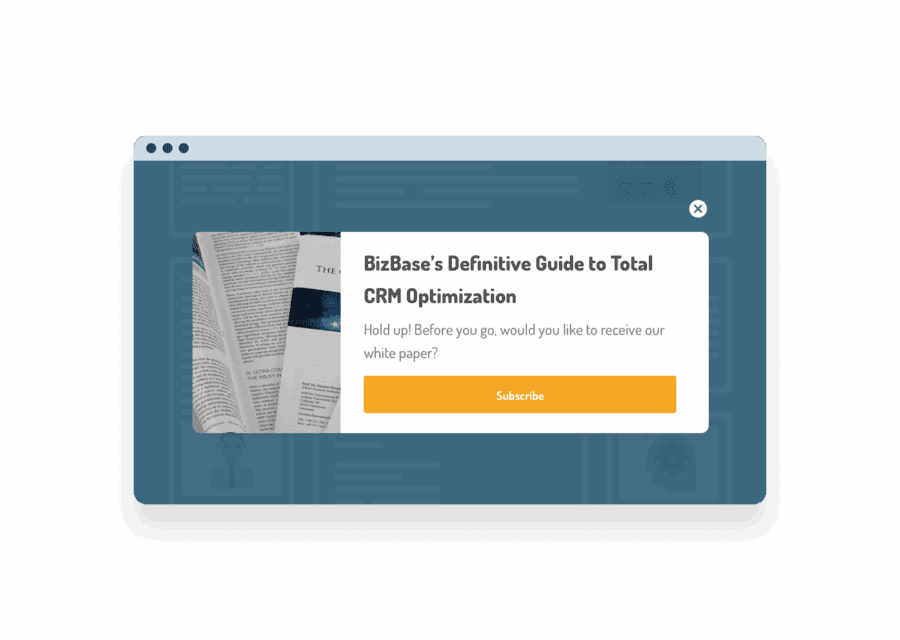
Account Based Marketing (ABM) Exit Popup Based on CRM Data

One popular application is to display personalized ABM  popups, based on CRM data targeting.
CRM targeting allows you to use any variables in your CRM as targeting rules, which dramatically expands your targeting capabilities. In order to do so, you must have your CRM feed uploaded or synchronized in Personyze, and then be able to correlate any given visitor on the site to their CRM data profile in that feed. Once Personyze knows which visitor is which CRM user, it can show them any personalized change to the website you want to create.

Use the slider to see how targeted ABM popups can be created for any given visitor, implemented using Personyze.
Notice how the ABM popup is relevant to each specific visitor’s interests.

CRM Targeted ABM Popup for an Online Bookkeeping Service

To offer a highly tailored experience for visitors to an online bookkeeping website, the site’s marketers use Personyze to show personalized exit popups for different segments, based on CRM variables, as part of their overall ABM marketing strategy.

If visitors are from a marketing agency, for instance, the ABM popup will show creative that includes the names of customers from the same industry who use their service, and emphasize experience working with the marketing industry, and offers a 30-day free trial not available to the general visitors.

Steps to Get There:

You’ll start by using the CRM Targeting wizard, which is listed when you go to create a new campaign.

  1. CRM Setup

    1. Data Integration – The first step is to integrate the CRM data, which can be done with the assistance of the Personyze team. To do so, you’ll need to either upload a CRM data feed in the form of a spreadsheet, RSS feed, or public URL which you set Personyze to periodically synchronize with. This must have a unique ID for each user, in addition to all of the variables you’d want to use for targeting.
    2. User Identification – Next, you’ll also need to tell Personyze what variable it can track to match the visitor on the site to their uploaded/synchronized data profile. This is called a Key ID, can be any combination of text and/or numbers, and must be unique to the user. Examples of where this might appear and can be tracked include a login field, login cookie, hidden div, or URL variable. Personyze can track anything that is available from the visitor session, so anywhere the Key ID appears will work.
    3. Don’t Fret – Again, if this is too complex or you need assistance, you can simply ask your Personyze Account Manager for help, or training.
  2. Targeting

    1. Rules – To set the targeting, you’ll choose the rules that will define who will see the individual version of the popup you’re creating. This will be slightly different for each segment, and it’s version of the popup.
    2. CRM Targeting Rule – For this example, we’ll select User Profile as the targeting rule, and choose the variable which has been uploaded from the CRM, in this case “Industry”, with the variable being “Agency”.
    3. Organization Rule – As an additional measure, in case the visitor has not been tied to their CRM data yet, we can also include the Organization targeting rule, connected to the previous rule by the OR operator, and select the company type as a variable, in this case Agency.
      1. This targeting rule is only effective to a limited extent, as not all organizations are included in the IP registry, but it can be a way to target some new leads who are not yet known in the CRM.
  3. ABM Popup Content/Design

    1. Select Template and Customize – Personyze includes many ABM popup templates to start with, or if you already have a design you can insert it’s HTML. Use the editing tools at the left to intuitively shape the popup to your exact specifications. In this case, this will include all of the messaging that’s needed to appeal to the individual industry of marketing agencies.
    2. Display as Popup – In the display type setting, we’ll select Popup, and usually in the case of an exit popup, we will choose for it to display in the center of the page, for maximum attention.
    3. Animation – For the animation, on an exit popup it is advisable to choose the glass panel option, which makes all the rest of the window dark, thereby drawing even more attention to the popup.
    4. Display on Exit Intent – For the Trigger option, we will select to Display On Predicted Site Leave Intent. This means it will show when the visitor shows signs of bouncing.
    5. Limitations – To avoid annoying the visitor, for the final setting we can limit the ABM popup to not show after it has been viewed, clicked, or closed X number of times.
    6. Test and Launch – Once the popup is complete, its just a matter of testing it, and then publishing it live to your site, once you’re satisfied.
  4. Test and Go Live

CRM Targeting

Of course, you can use Personyze to do much more than simply display an exit popup. Using the same variable of industry, you can create an entirely different experience across the entire website, and your remarketing emails. The ways in which you can utilize CRM data in Personyze are practically endless.